

106.1. Upload a table and spatially cross-match#
For the Portal Aspect of the Rubin Science Platform at data.lsst.cloud.
Data Release: Data Preview 2
Last verified to run: 2026-09-10
Learning objective: How to upload a table and cross-match by coordinate.
LSST data products: Object table
Credit: Originally developed by the Rubin Community Science team. Please consider acknowledging them if this tutorial is used for the preparation of journal articles, software releases, or other tutorials. DOI: 10.11578/rubin/dc.20250909.20
Get Support: Everyone is encouraged to ask questions or raise issues in the Support Category of the Rubin Community Forum. Rubin staff will respond to all questions posted there.
1. Log in to the RSP and enter the Portal Aspect. In a web browser go to data.lsst.cloud, select the Portal Aspect, and log in.
2. Select DP2 Catalogs tab. Navigate to the “DP1 & DP2 Catalogs” tab in the Portal UI to create an ADQL query from the DP2 catalogs.
3. Enter Constraints. Check the box to the left of the “Spatial” section (uncheck the other two if checked), and click on the “Multi-object” button next to “Spatial Type”. This will make a pop-up window appear with the interface to upload a table.
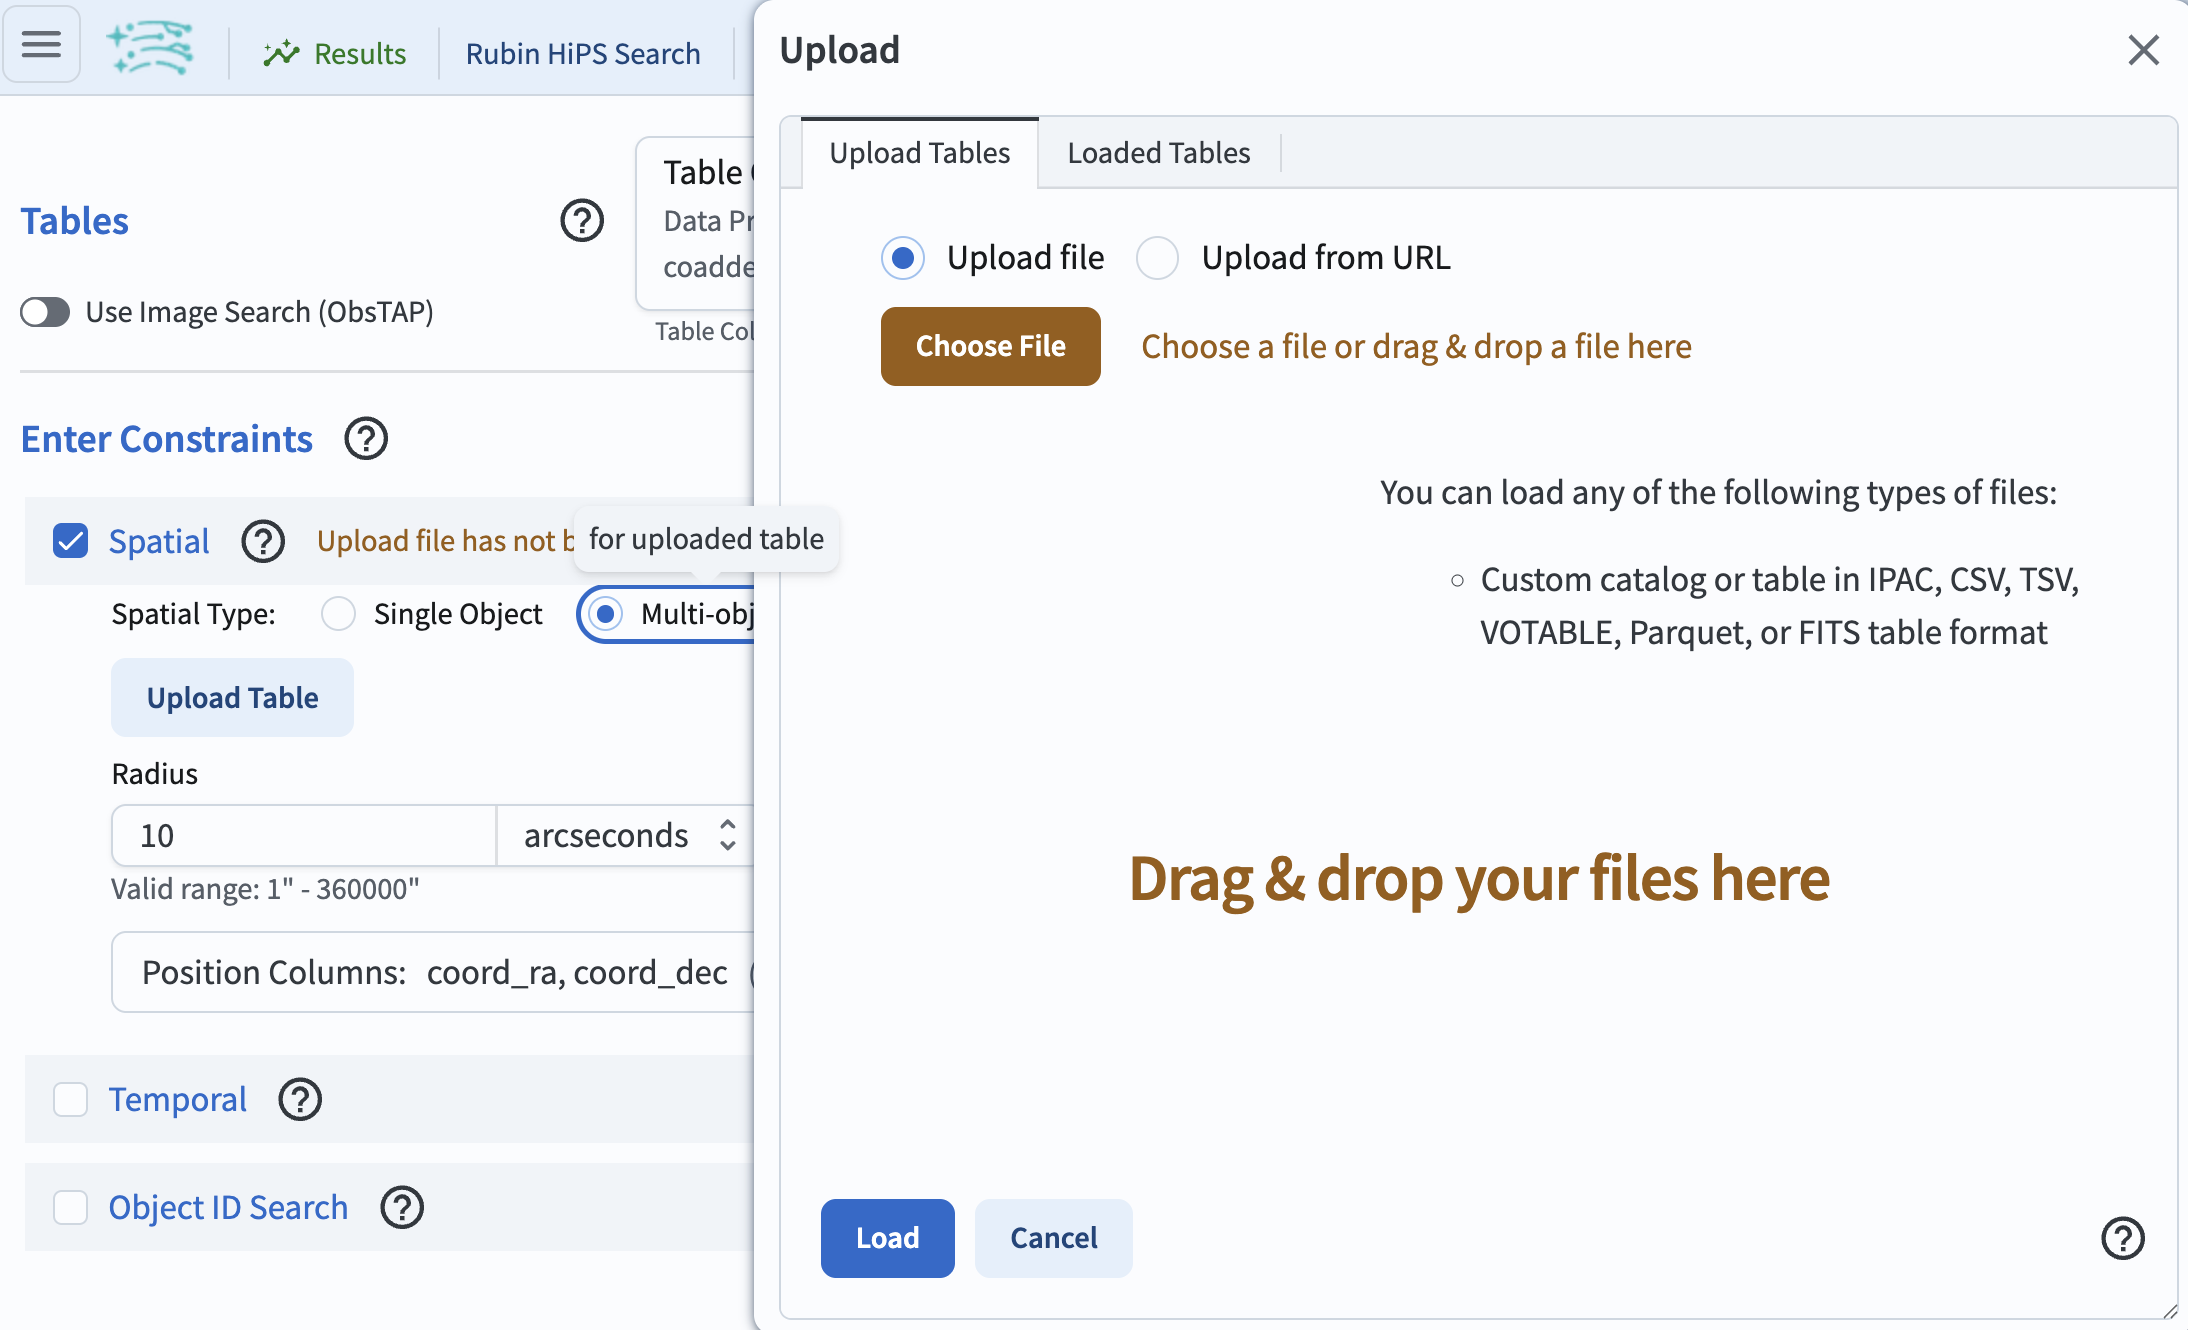
Figure 1: The interface to upload a table.#
4. Create a table to upload.
Copy the example table below and save it as a CSV file called dp2_106_1_user_table.csv. Avoid using the “+” prefix for positive infinity (i.e., “+inf”) in any of your columns. These values are not recognized as valid float values, and the entire column will be interpreted as a character type.
SDSS_objid,ra,dec
1237680065347649938, 344.872589288903, -5.29412953356062
1237680065347649939, 344.877186896095, -5.18342606769438
1237680065347649940, 344.877794530448, -5.17340032770887
1237680065347649937, 344.873602385501, -5.26745861467814
1237680065347649936, 344.873036222136, -5.26977387877352
1237680065347649935, 344.876528103134, -5.128174209936
1237680065347649934, 344.874508490362, -5.18819130379492
1237680065347649933, 344.874446935363, -5.13784242229324
1237680065347649932, 344.871377794791, -5.25018994406145
1237680065347649931, 344.870053717524, -5.29090967498696
5. Upload a table to the Portal. In the pop-up window for table uploads, select “Upload file” and click on “Choose File”. Select the CSV file containing the user table and click the “Load Table” button.
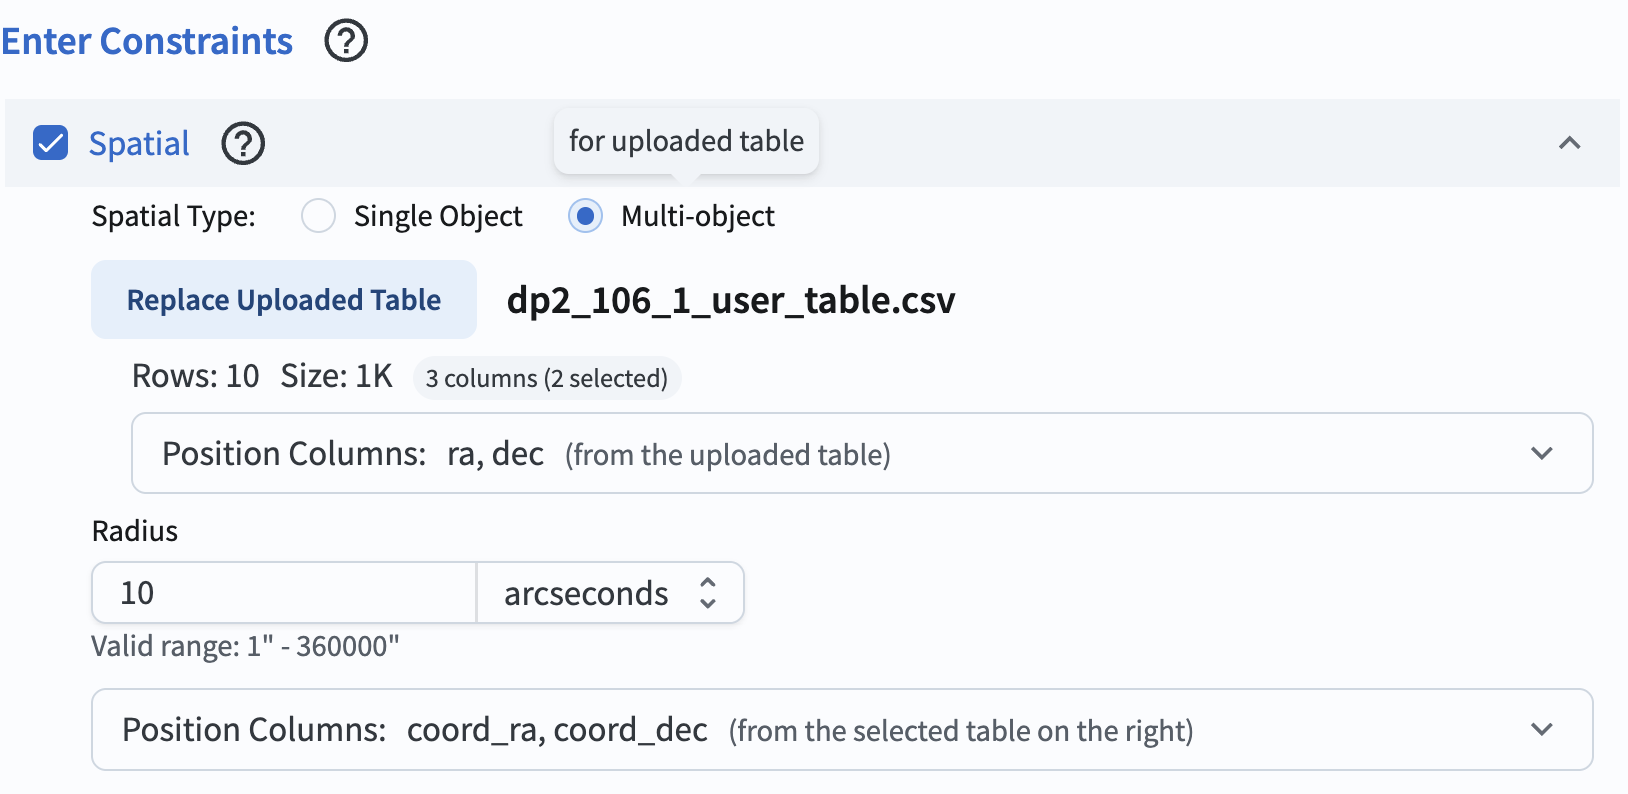
Figure 2. After a successful upload, the table appears in the “Spatial” section, displaying the file name, number of rows, and file size.#
6. Select columns and set the radius for cross-matching.
Leave the spatial matching drop-down menus in their default configurations by verifying that the “Position Columns” for the uploaded table are set to ra and dec, and the “Position Columns” for the Object table are set to coord_ra and coord_dec. Set the search radius to 1 arcseconds.
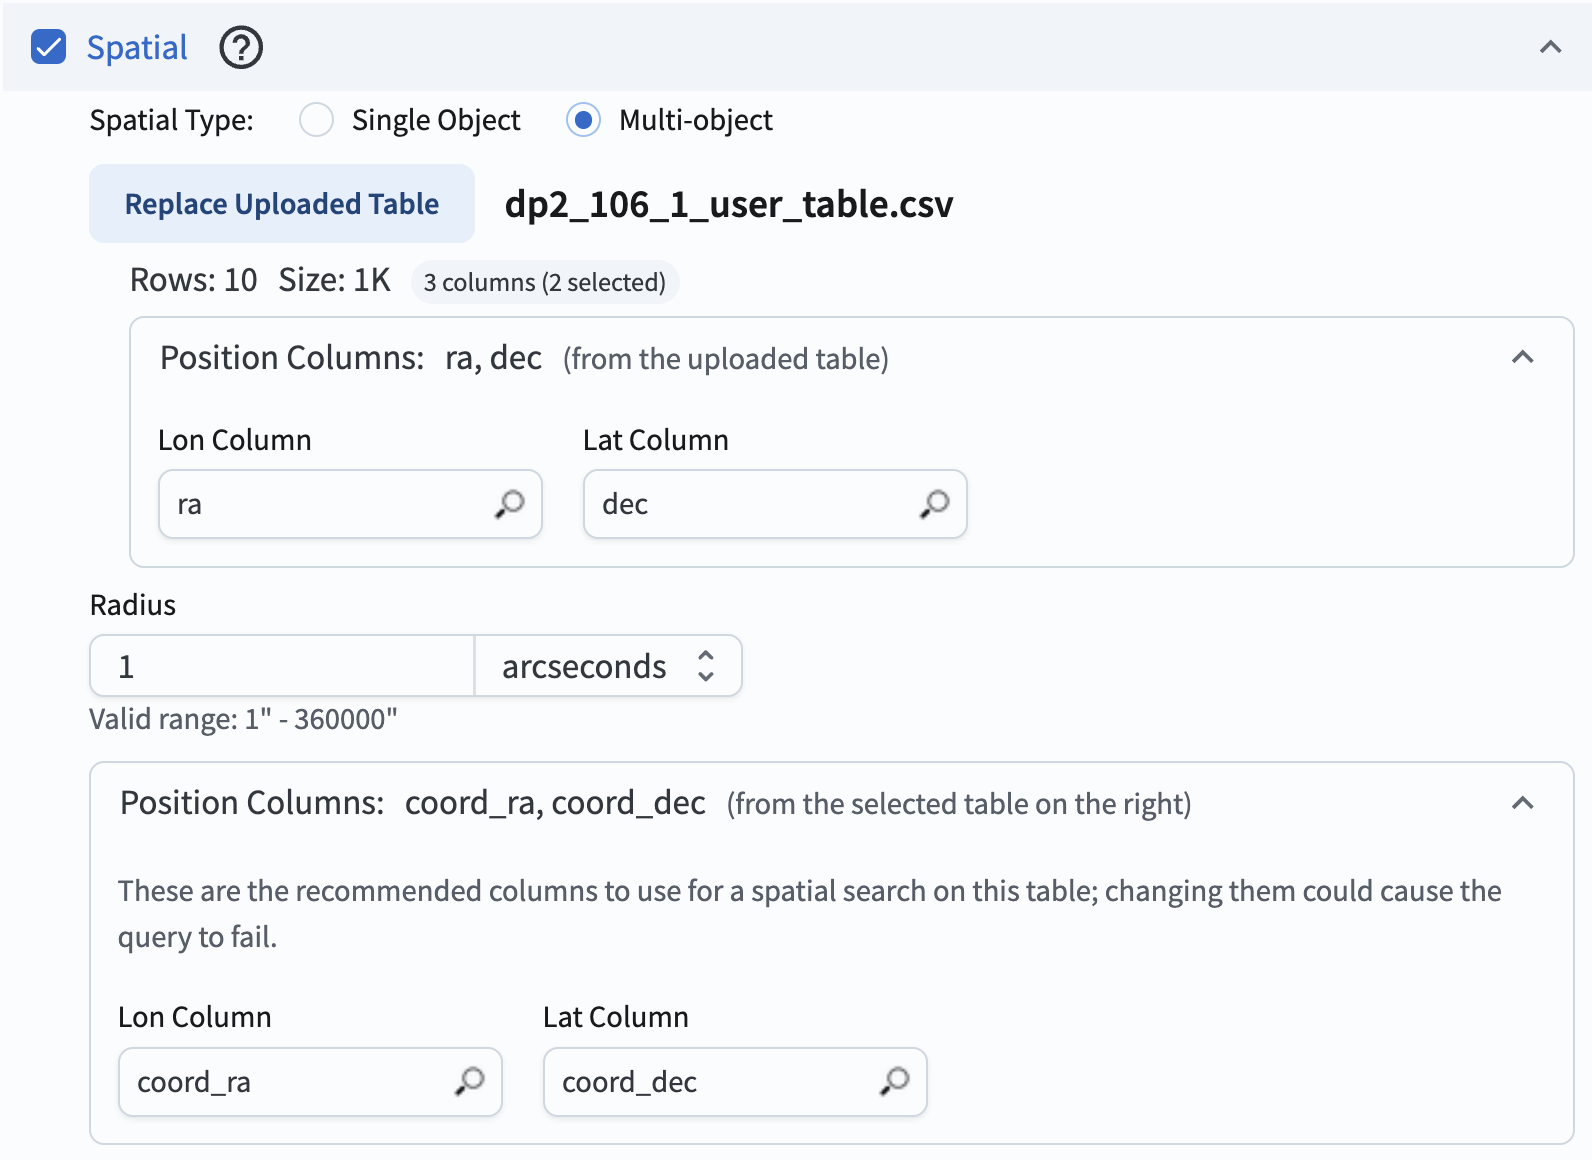
Figure 3. The interface to select the position columns and set the radius to be used for cross-matching.#
7. Click search. At the lower left, click the blue button named “Search”. Leave the default row limit.
Warning for not a short table!
Use the simple click “Search” only for short tables. To avoid slow queries on larger tables, skip the “Search” button and click “Populate and edit ADQL” at the bottom-center. When the ADQL interface opens and auto-fills the query box, replace the lines following the SELECT statement with these:
FROM dp2.Object AS d
JOIN TAP_UPLOAD.upload_table AS ut
ON DISTANCE(POINT('ICRS', d.coord_ra, d.coord_dec),
            POINT('ICRS', ut.ra, ut.dec)) < 0.0002777778
Joining the uploaded table with the Object table using DISTANCE makes a query highly efficient by targeting only the relevant chunks of data.
8. Review the results.
The search returns matches for all ten objects from the user-uploaded table.
The results interface includes a table with the default column selections from the DP2 Object table and the ra and dec columns from the uploaded table.
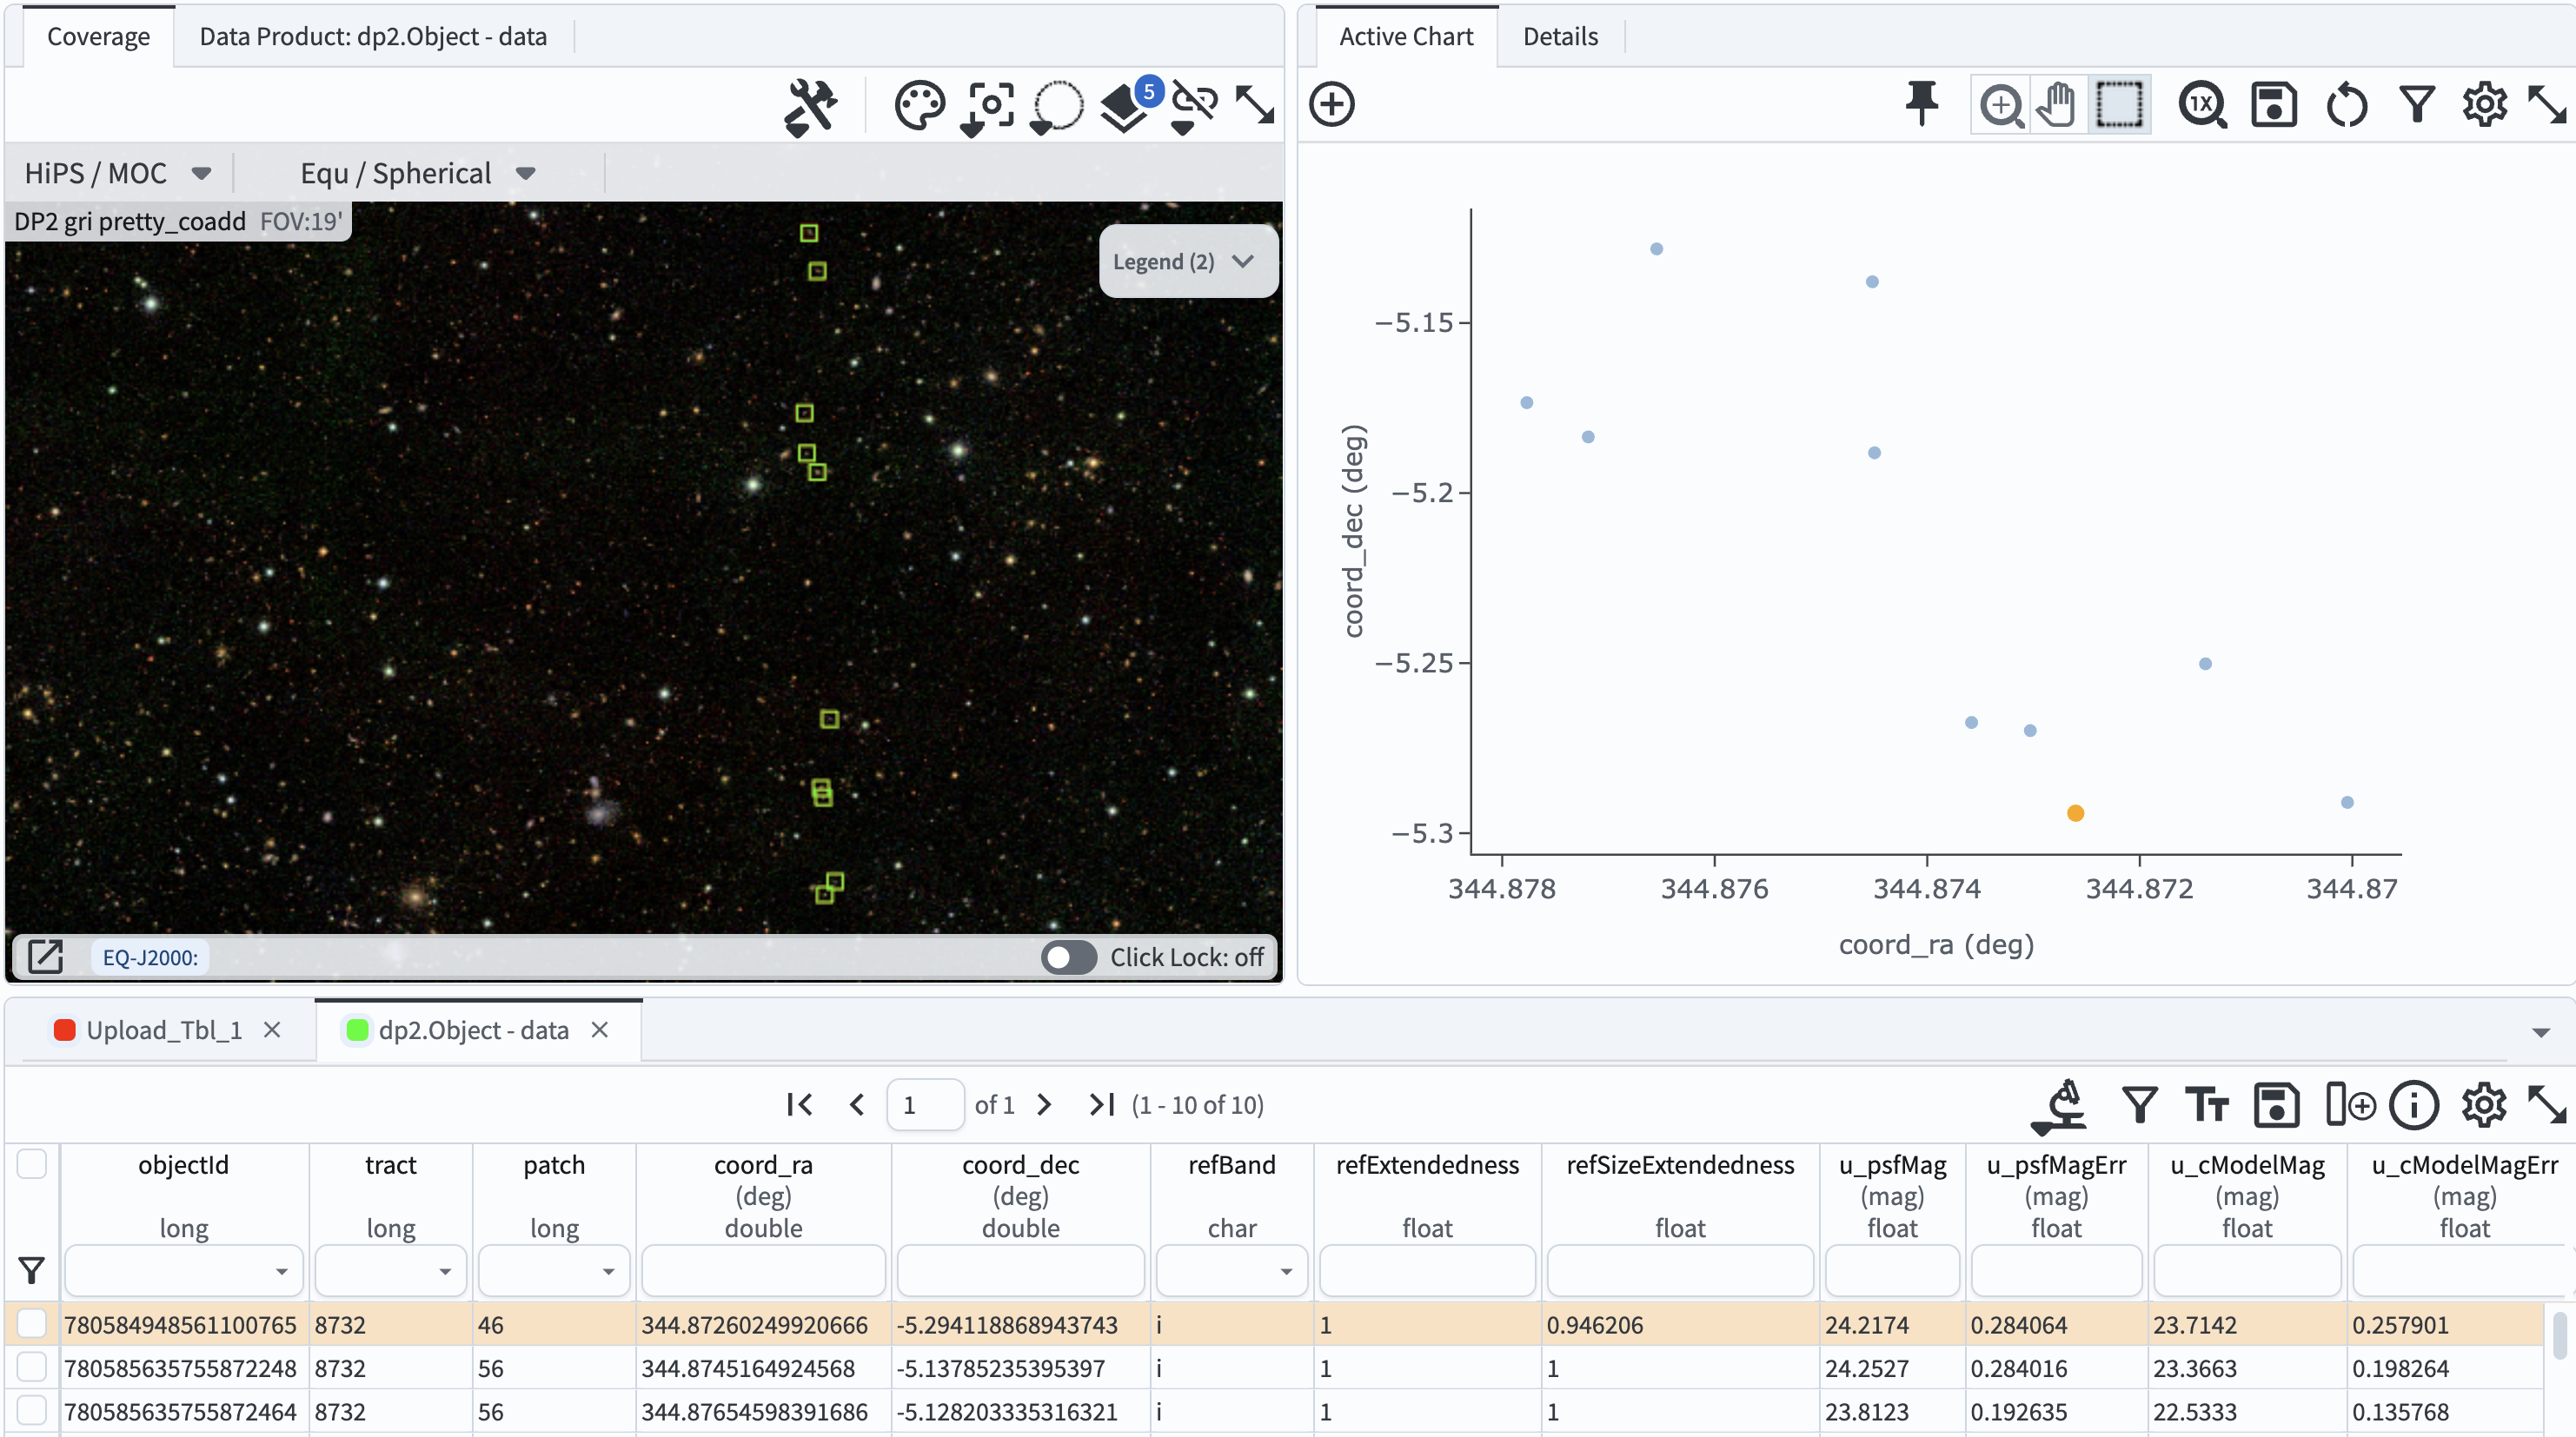
Figure 4. The catalog results interface after the cross-match query was executed.#