

102.2. Query for images with SIAv2#
For the Portal Aspect of the Rubin Science Platform (RSP) at data.lsst.cloud.
Data Release: Data Preview 2
Last verified to run: 2026-09-11
Learning objective: Use the Simple Image Access version 2 (SIAv2) service to set up and execute an image query with the Portal’s graphical user interface (UI), without writing ADQL.
LSST data products: deep_coadd
Credit: Originally developed by the Rubin Community Science team. Please consider acknowledging them if this tutorial is used for the preparation of journal articles, software releases, or other tutorials. DOI: 10.11578/rubin/dc.20250909.20
Get Support: Everyone is encouraged to ask questions or raise issues in the Support Category of the Rubin Community Forum. Rubin staff will respond to all questions posted there.
Note
Early Data Preview 2 provides deep_coadd images only.
Visit, difference, and template images are added with the full DP2 release; once available, the same
SIAv2 interface can be used to query for them by selecting the corresponding calibration level and
data product subtype.
1. Go to the RSP and enter the Portal Aspect. In a web browser, go to data.lsst.cloud, click on the “Portal” panel, and log in.
2. Open the sidebar menu. The SIAv2 image search is not one of the default tabs; it is reached from the sidebar. At the upper left of the Portal, click the menu icon (three horizontal lines).
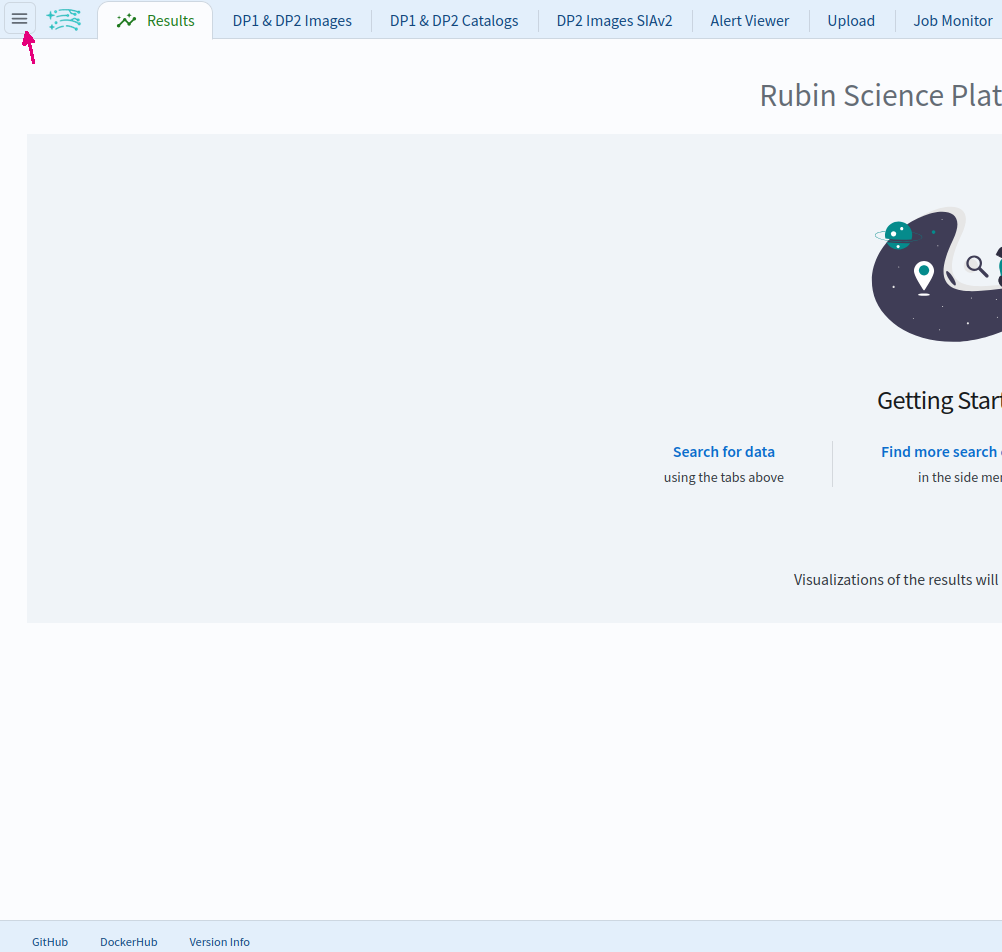
Figure 1: The menu icon at the upper left of the Portal opens the sidebar.#
3. Open the SIAv2 image search interface. In the sidebar, under the “Data Preview 1 & 2” heading, click on “DP2 Images SIAv2”. This opens the “DP2 Images SIAv2” tab, headed “DP2 Image Search via SIAv2”. (SIAv2 image search is provided per data release; a separate “DP1 Images SIAv2” entry queries DP1.)
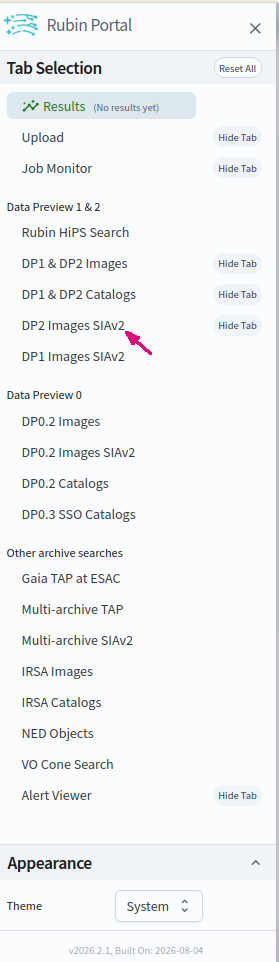
Figure 2: Select “DP2 Images SIAv2” from the sidebar.#
4. Set the spatial constraints. Check the box next to “Spatial”. For “Shape Type” select “Cone Shape”. In the “Coordinates or Object Name” field enter the approximate centre of the ECDFS field, RA, Dec = 53, -28 degrees. Set the radius’s units to “degrees”, then set the radius to 1, roughly the extent of the field.
5. Set the observation type and source. Check the box next to “Observation Type and Source”. Set the data product type to “image”, the facility to “Rubin:Simonyi”, the instrument name to “LSSTCam”, the collection to “LSST.DP2”, and the data product subtype to “lsst.deep_coadd”.
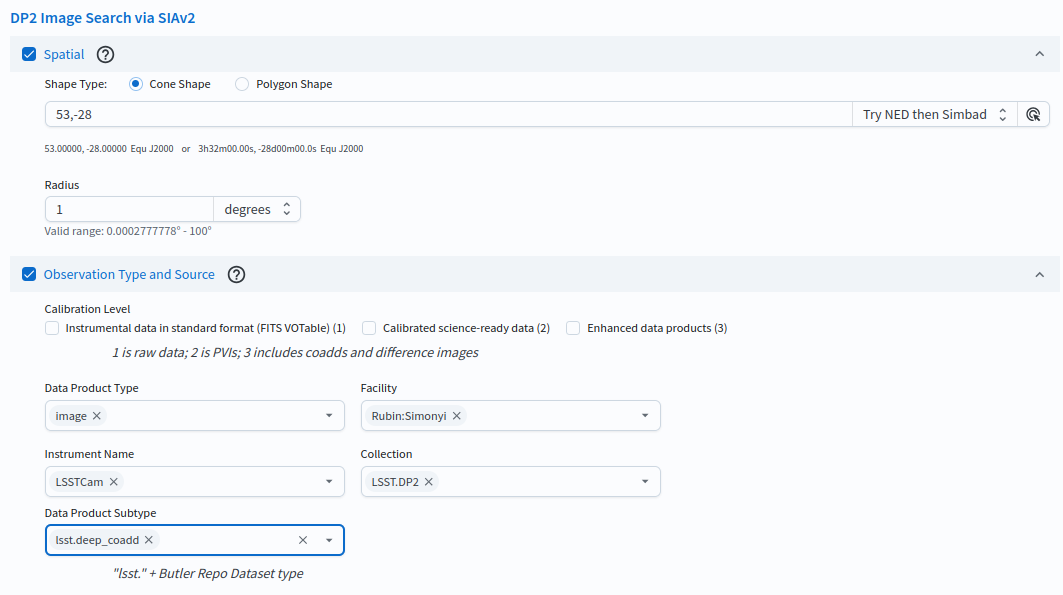
Figure 3: Setting the constraints on the images’ Spatial and Observation Type and Source.#
6. Set the spectral coverage (band). Check the box next to “Spectral Coverage”. For “Query Type” select “By Filter Bands”, and under “LSSTCam” tick the r band.

Figure 4: Setting the constraint on the images’ Spectral Coverage.#
7. Execute the search. Click on the “Search” button at lower left.
8. Review the results.
The results interface enables interactive visualization of the 179 deep_coadd images which meet the
search criteria: the r-band coadd of every ECDFS patch that falls within the search cone.
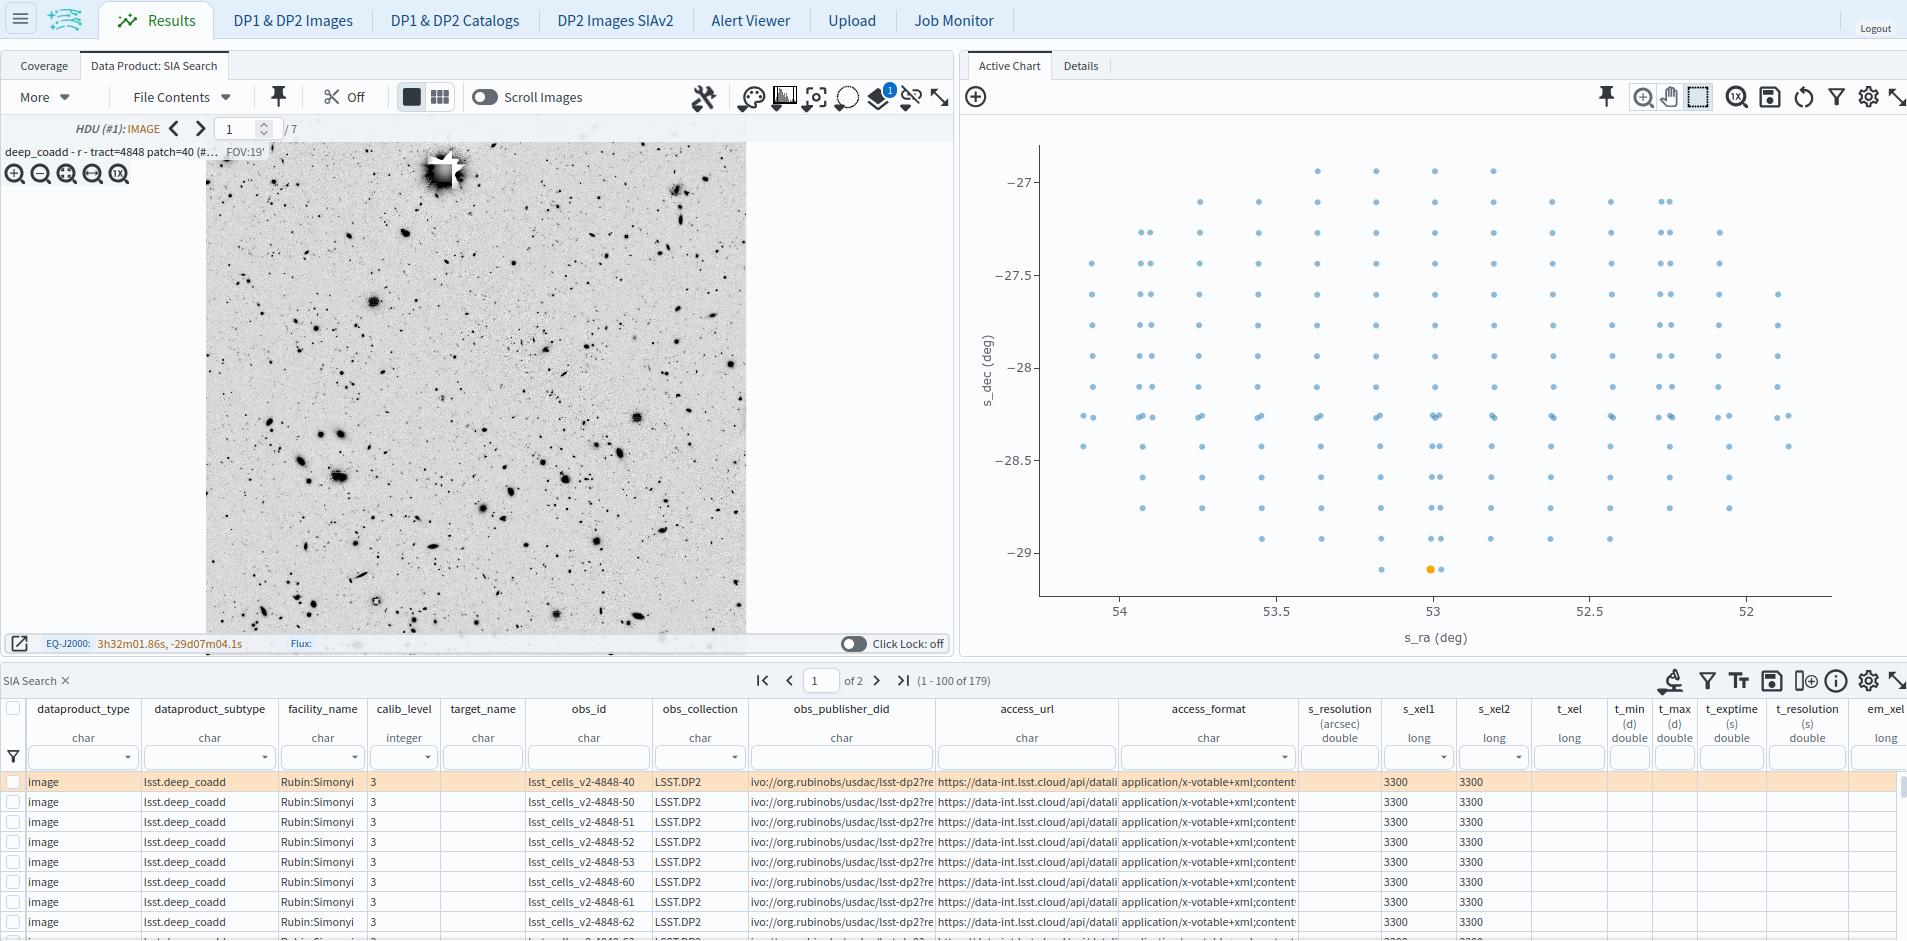
Figure 5: The image results interface.#
Next steps: Tutorial 102.3 performs a similar image query with the ObsTAP service instead of SIAv2, and the 105-series tutorials show how to work with image results in the Firefly viewer.